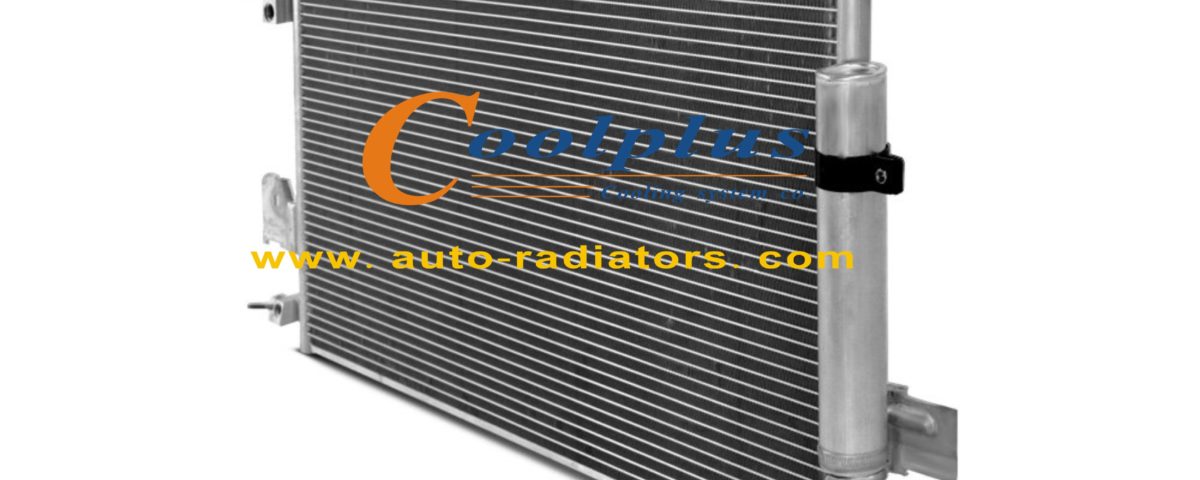
It is no small feat to install an air conditioner condenser. This repair is not recommended for anyone except currently certified refrigeration technicians. It requires several thousand dollars’ worth of specialized tools. Improper techniques can ruin expensive equipment, incur hefty fines, and even place the installer’s life at risk. Follow the instructions below for safe installation.
Step 1 – Size Replacement Condenser
HVAC loads are calculated using an industry standard energy audit known as manual J. A rough estimate is that a one-ton or 12,000 BTU of condenser cools 500 square feet of building.
Step 2 – Remove Old Condenser
You may need to remove the old condenser by cutting the refrigerant lines. Venting old refrigerant into the atmosphere is unlawful per section 608 of the Clean Air Act of 1995. Fines for violation are measured in tens of thousands of dollars, with handsome rewards for whistleblowers.
Use a refrigerant recovery system unless the condenser has already completely discharged due to a leak. Do not cut the lines before the new condenser is ready to install; leaving them open for extended periods will result in moisture infiltration. If you are installing a new condenser rather than replacing an old one, choose a location that is level and firmly supported with enough space to access the service valves.
Step 3 – Inspect New Condenser
Tighten any fasteners or connections that may have come loose during shipping.
Step 4 – Run Refrigerant Line
Install liquid and suction lines from the evaporator to the site of the condenser, if necessary. Support them with straps and avoid any coils that could trap pooled oil. Pressurize the lines with an inert gas while brazing to prevent oxidization. Never braze a line while it contains refrigerant. Check the lines for leaks by pressurizing them and allowing them to sit for an hour. If the pressure drops, coat the lines with soapy water and watch for bubbles at the site of leaks. After you have determined that there are no leaks, wrap the lines with foam pipe insulation.
Step 5 – Evacuate Refrigerant Line
Vent the nitrogen gas and connect the refrigerant lines to the vacuum pump for 20 minutes or more. The vacuum pump will force any moisture from the lines to prevent corrosion.
Step 6 – Charge System with Refrigerant
Fill the lines with the appropriate refrigerant gas to the specified pressure.
Step 7 – Connect Electrical Wiring
Wire the new condenser unit according to the manufacturer’s instructions. You may have to determine the wiring standards or electrical codes in your area.
Set the thermostat low enough that the solenoid will engage as soon as the system is powered on. Check the high and low pressures across various temperatures to ensure that they are in the range specified by the manufacturer. If you have difficulty, contact a licensed air conditioning contractor for additional assistance.

